

Drawing animals can be fun and relaxing. Today, we will learn how to draw a capybara. Capybaras are the biggest rodents in the world. They look calm and friendly. This guide will help you draw a capybara easily. Just follow the steps carefully.
What You Need
- Pencil
- Eraser
- Paper
- Colored pencils or crayons (optional)
Step 1: Draw the Body Shape
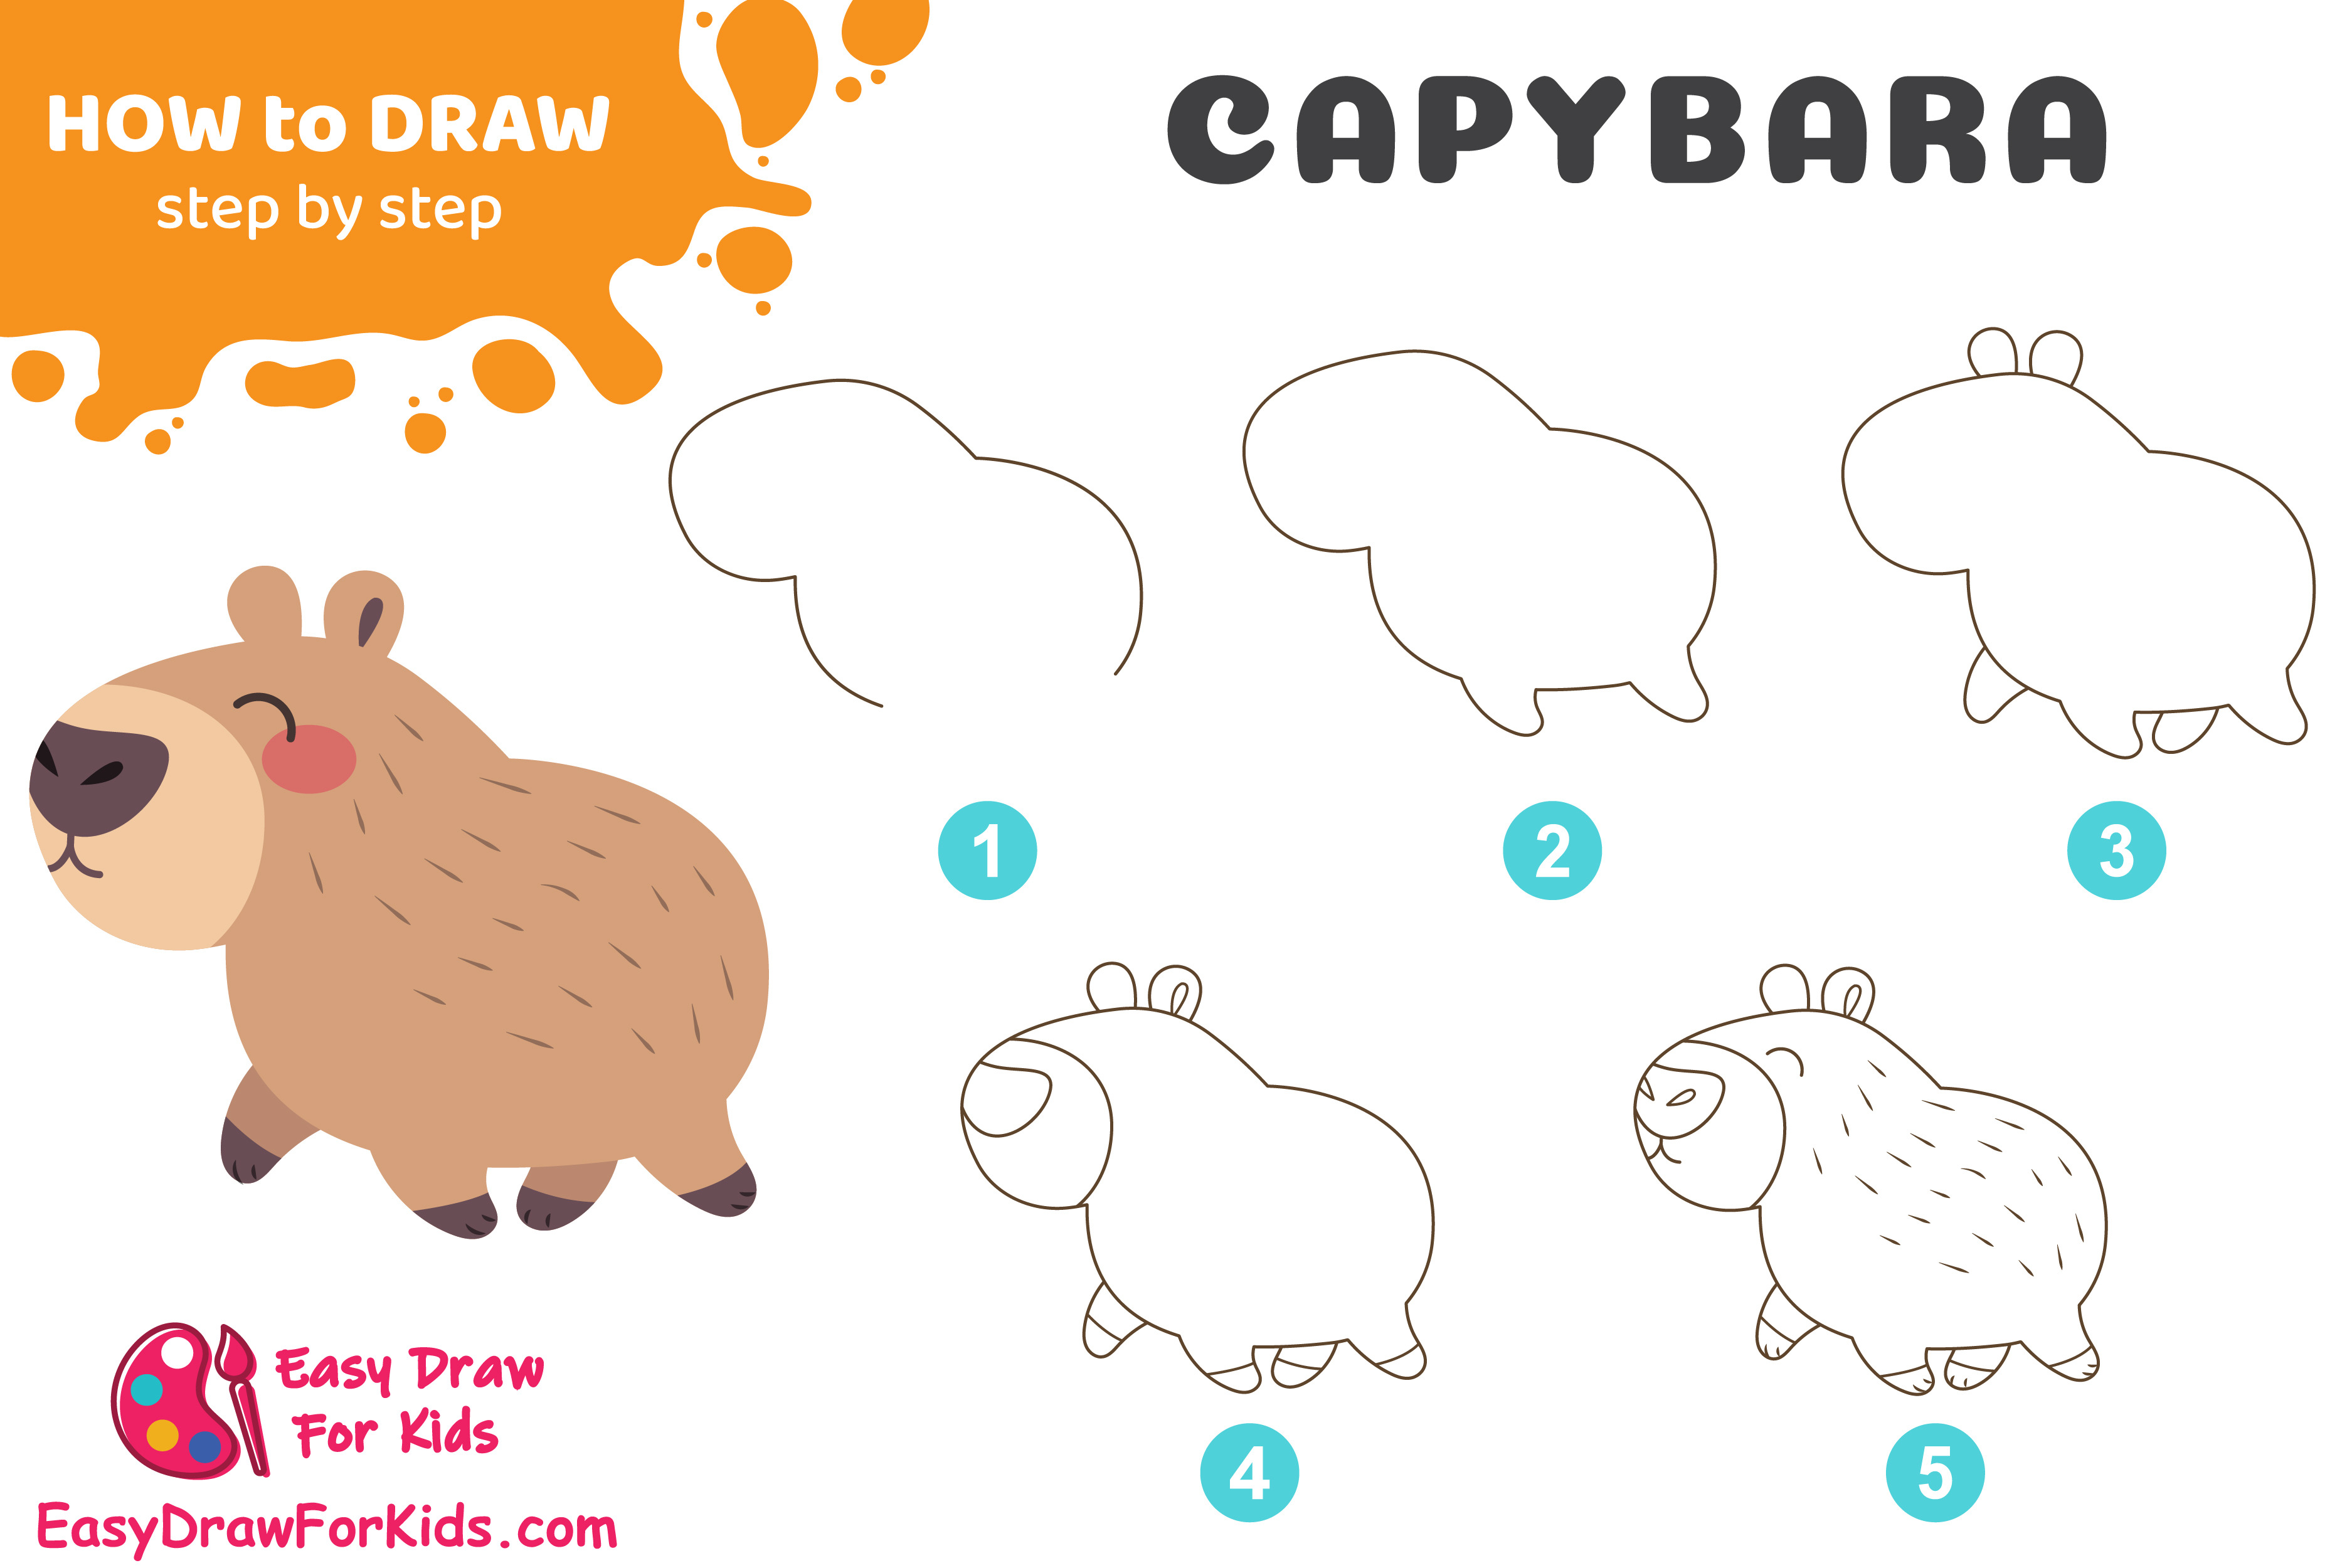
Start by drawing a big oval shape. This will be the body of the capybara. The oval should be long and slightly wide. It does not have to be perfect. It is just a base.
Step 2: Add the Head
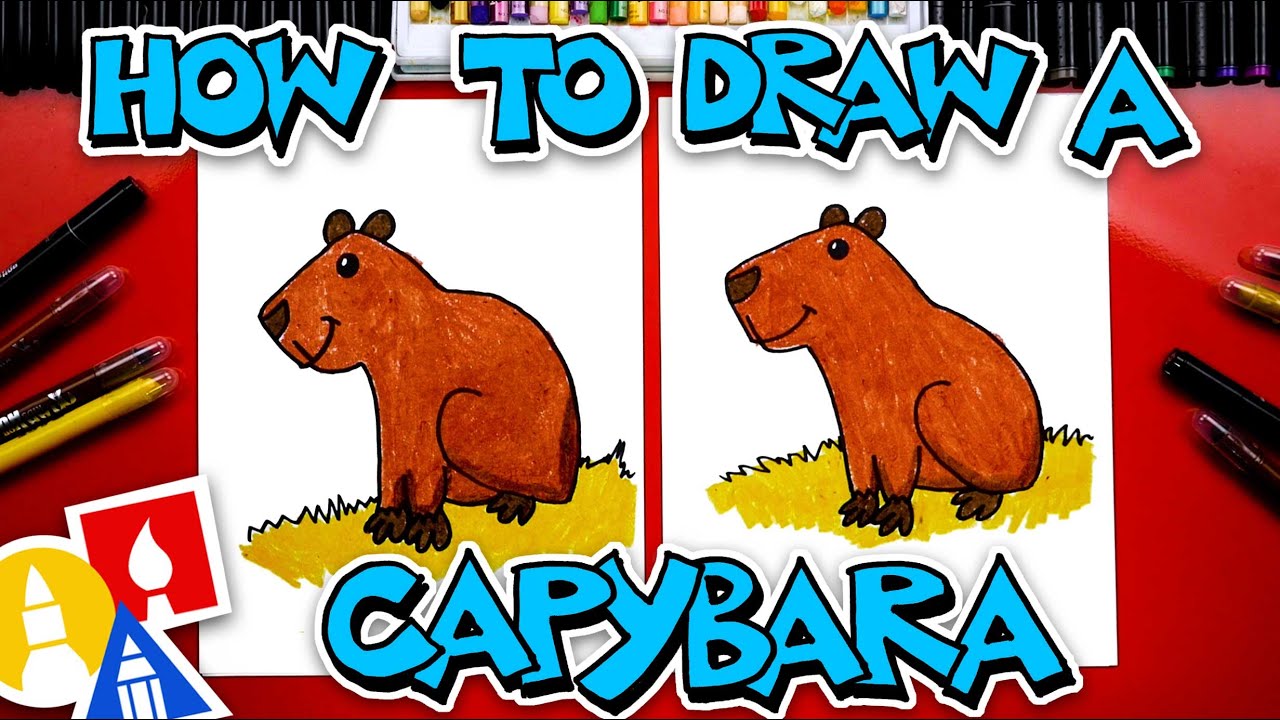
Next, draw a smaller oval for the head. Place it on the left side of the big oval. The head should be smaller than the body. Connect the head and body with two short lines. These lines make the neck.
Credit: www.youtube.com
Step 3: Draw the Snout
Capybaras have a round snout. Draw a small circle at the front of the head oval. This circle is the nose area. Add a tiny oval inside this circle for the nose. Remember to keep it simple.
Step 4: Sketch the Eyes and Ears
Draw two small circles above the snout circle. These will be the eyes. Leave some white space inside each eye for shine. Then, draw two small rounded triangles on top of the head. These are the ears.
Step 5: Draw the Legs
Capybaras have short legs. Draw four rectangles under the body. Two in the front and two in the back. The front legs should be a little smaller. Add small ovals at the bottom of each rectangle for feet.
Step 6: Add the Tail
Capybaras have a very small tail. Draw a tiny line or a small oval at the back of the body. It should be near the back legs.
Step 7: Connect and Smooth the Lines
Now, connect the shapes smoothly. Use curved lines to join the head and body. Round the edges of the legs and ears. Erase extra lines that you do not need. Your capybara should start to look more natural now.
Step 8: Add Details
Draw a few short lines inside the ears. These show the ear’s texture. Add some small lines for the fur on the body. Draw tiny lines around the snout to show whiskers. Keep the details light and simple.
Step 9: Outline Your Drawing
Once you are happy with your sketch, outline it with a darker pencil or pen. This will make your drawing clear. Be careful while outlining. Take your time.
Step 10: Color Your Capybara (Optional)
Capybaras have brown or light tan fur. Use brown or orange colors to fill the body. Color the nose black or dark brown. Make the eyes black with white shine. You can also add some green around for grass.
Credit: tips.clip-studio.com
Tips to Make Your Capybara Look Better
- Keep your pencil light in the beginning.
- Use an eraser to fix mistakes.
- Look at photos of capybaras for help.
- Practice drawing different poses.
- Have fun and be patient.
Why Draw a Capybara?
Capybaras are interesting animals. They live near water and like to swim. Drawing them helps you learn animal shapes. It also improves your art skills. Plus, it is a nice way to relax.
Summary
Drawing a capybara is simple when you break it into steps. Start with basic shapes like ovals and rectangles. Add details slowly. Use light lines first, then darken the final drawing. Color if you want. Remember, practice makes better.
Now, grab your pencil and try drawing a capybara. Enjoy the process and do not worry about mistakes. Every drawing will get better with time. Happy drawing!
Frequently Asked Questions
What Materials Do I Need To Draw A Capybara?
You need paper, pencils, an eraser, and colored pencils or markers. These basic tools help you create clear and neat drawings.
How Long Does It Take To Draw A Capybara?
Drawing a capybara usually takes 20 to 40 minutes. It depends on your skill level and detail you want.
Can Beginners Follow This Capybara Drawing Guide?
Yes, this guide is simple and easy to follow for beginners. It breaks down the steps clearly.
What Is The Best Way To Start Drawing A Capybara?
Start with basic shapes like circles and ovals to outline the body. This helps keep proportions right.


