

Drawing a realistic capybara is a fun challenge for artists of all levels. The capybara, known as the world’s largest rodent, has a unique and gentle look. Its rounded body, expressive face, and short fur make it a perfect subject for practicing drawing skills.
If you want to capture a capybara that looks like it could step off the page, you need a plan and some patience. This guide will walk you through each stage, from sketching basic shapes to adding lifelike details. You’ll also learn tips and tricks that even many beginners miss.
Gather Your Materials
Before you start, having the right tools helps a lot. For a realistic drawing, you need:
- Pencils: Use a range from 2H (hard) to 6B (soft) for sketching and shading.
- Eraser: A kneaded eraser is gentle on the paper and helps create soft highlights.
- Paper: Medium-to-heavyweight drawing paper with a smooth texture works best.
- Blending tools: Stumps or tissue paper help create realistic fur textures.
- Reference images: Good photos of capybaras are key to accurate drawing.
Here’s a quick comparison of common pencil grades for shading:
| Pencil Grade | Shade Darkness | Best For |
|---|---|---|
| 2H | Light | Sketching outlines |
| HB | Medium | Basic shading |
| 4B | Dark | Deep shadows, fur texture |
| 6B | Very Dark | Strong contrast areas |
Using different pencils makes your capybara look three-dimensional and real.
Study Capybara Anatomy
To draw a lifelike capybara, you need to know its basic shapes and features. Capybaras have:
- Barrel-shaped body
- Short, sturdy legs
- Blunt, square nose
- Small, rounded ears
- Large, dark eyes
Notice that their bodies are longer than they are tall. The nose sits almost level with the eyes, which is unusual in many mammals. The feet are webbed with visible nails.
Here’s a simple size comparison to understand proportions:
| Body Part | Proportion (to body length) |
|---|---|
| Head | 1/4 |
| Leg (front) | 1/3 |
| Leg (back) | 1/3 |
| Ear | 1/10 |
Studying these proportions before you start helps avoid common mistakes, such as making the head too small or the legs too thin.

Credit: www.youtube.com
Step-by-step Drawing Process
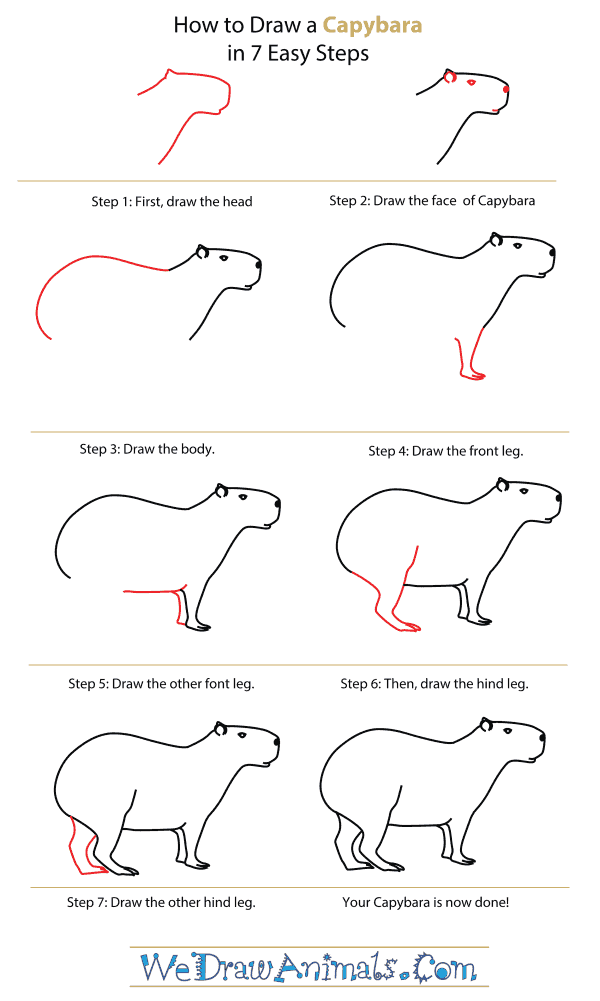
1. Sketch Basic Shapes
Start with light pencil strokes. Draw an oval for the body, a circle for the head, and short rectangles for the legs. Mark where the eyes, nose, and ears will go using simple lines. Keep your hand relaxed and don’t press hard.
2. Refine The Outline
Connect your basic shapes with smooth lines. Curve the back, round the face, and shape the legs. Use reference photos to adjust the pose and proportions. Capybaras often sit with their back legs tucked under their body.
3. Add Facial Features
Draw the eyes as dark ovals, placed about a third down the head. The nose is blunt, with wide nostrils. Capybara ears are small and stand up straight. Add the mouth as a subtle line, with a gentle curve.
4. Draw The Limbs And Feet
Shape the legs with muscle and fur lines. Capybara feet are special—they have webbing, which you can show with soft curves between the toes. Draw visible claws but keep them short.
5. Block In Shadows
Decide where your light source comes from. Shade the belly, under the neck, and the inside of the legs. Use an HB pencil for light shadows, then a 4B or 6B for the darkest areas.
6. Create Fur Texture
Capybara fur is short and smooth, but not flat. Use short, quick pencil strokes in the direction the fur grows. Around the face, use even shorter strokes to show the softer fur. Blend some areas with a stump or tissue to create volume.
Here are two ways to create fur effect:
| Technique | How To | Result |
|---|---|---|
| Layering | Draw many light lines, add darker lines on top | Natural, soft fur |
| Blending | Shade then use a stump in fur direction | Smoother, denser look |
7. Refine Details
Look closely at your reference image. Add whiskers with a sharp pencil. Darken the eyes and nose for shine. Use your eraser to lift out highlights on the fur and around the eyes. These small details make your capybara look alive.
Tips For More Realistic Results
- Observe real capybaras: If you can, watch videos or visit a zoo.
- Work slowly: Rushing leads to mistakes, especially with fur and shading.
- Check symmetry: Step back to see if both sides of the face match.
- Use layers: Build up shadows gradually instead of making them too dark at once.
- Highlight mistakes early: If the proportions feel off, erase and redraw early—don’t wait until the end.
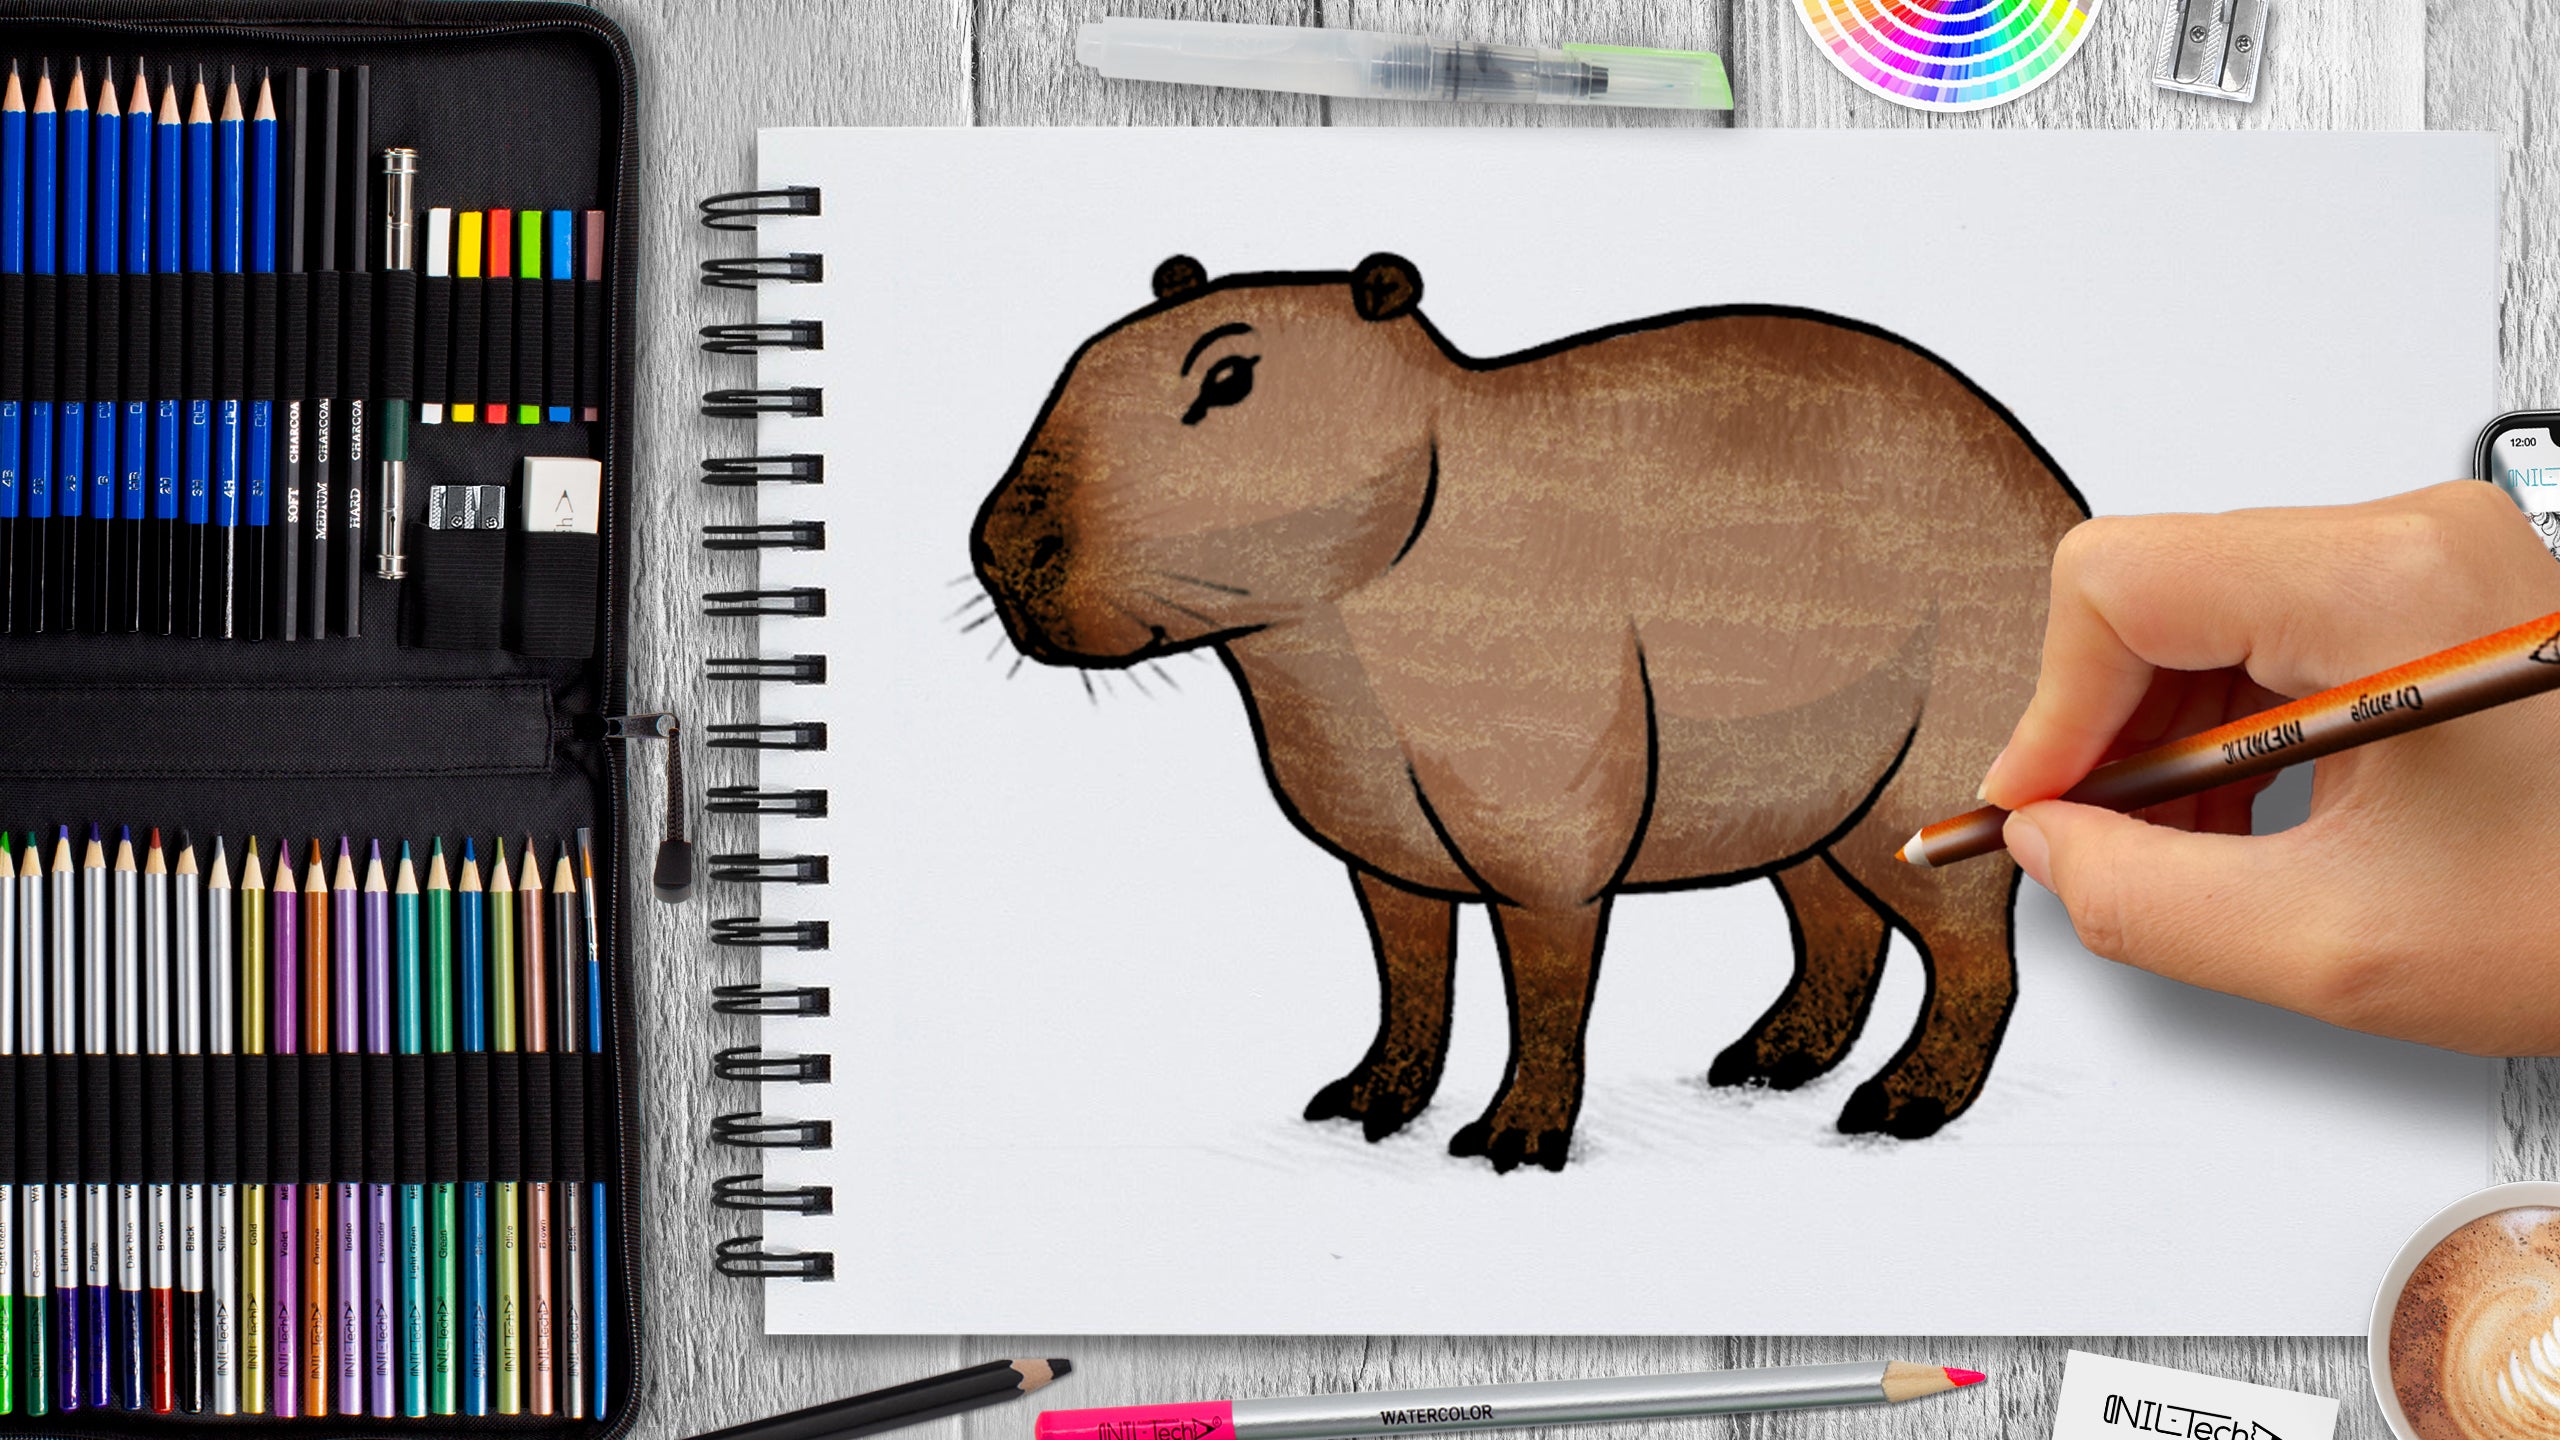
Many beginners miss the importance of layering and direction in fur. Fur on a capybara’s belly often points a bit forward, while fur on the back points more down. Noticing these details separates a realistic drawing from a flat one.
Credit: shop.nil-tech.com
Common Mistakes To Avoid
- Making the body too thin: Capybaras are round and chunky.
- Forgetting the webbed feet: This is a key feature.
- Over-outlining: Real fur has soft edges, not hard lines.
- Ignoring light source: Without strong shadows and highlights, the drawing looks flat.
- Misplacing the eyes: Eyes that are too high or too far apart make the face look wrong.
Practice And Patience
Drawing a realistic capybara takes practice. Don’t get discouraged if your first try isn’t perfect. Each drawing helps you improve. Try drawing capybaras in different poses and lighting conditions. Over time, you’ll notice more detail and your work will look more lifelike.
If you want to see more examples of capybara anatomy and behavior, the Wikipedia Capybara page offers helpful photos and information.
Credit: www.wedrawanimals.com
Frequently Asked Questions
How Long Does It Take To Draw A Realistic Capybara?
For most people, a detailed drawing takes 1–3 hours. Taking breaks and working in layers gives the best results.
What Is The Hardest Part To Draw On A Capybara?
The fur texture and webbed feet are often the hardest. Getting the fur to look natural requires patience and observation.
Which Pencil Grade Is Best For Details?
A 2B or 4B pencil is best for adding details like eyes, whiskers, and dark fur patches.
Can I Use Colored Pencils Instead Of Graphite?
Yes, colored pencils work well. Focus on light browns, grays, and black for a realistic look. Layer colors for depth.
How Do I Fix Mistakes In My Drawing?
Use a kneaded eraser to gently lift out errors. For big changes, erase softly and redraw. Avoid scrubbing the paper.
Drawing a realistic capybara is a rewarding way to practice your observation and shading skills. With the right tools, careful study, and patience, you’ll create artwork that captures the quiet charm of this unique animal. Keep practicing, and enjoy the process of bringing your capybara to life!


